Nearly 90 percent of American households depend on their HVAC systems to stay comfortable year round. When something goes wrong, confusion and concern can set in quickly. Whether you are facing sudden temperature swings or odd new noises, tackling HVAC repairs safely and effectively is not just important, it can save you money and keep your home protected. This guide breaks down clear, step by step instructions so you can approach every issue with confidence.
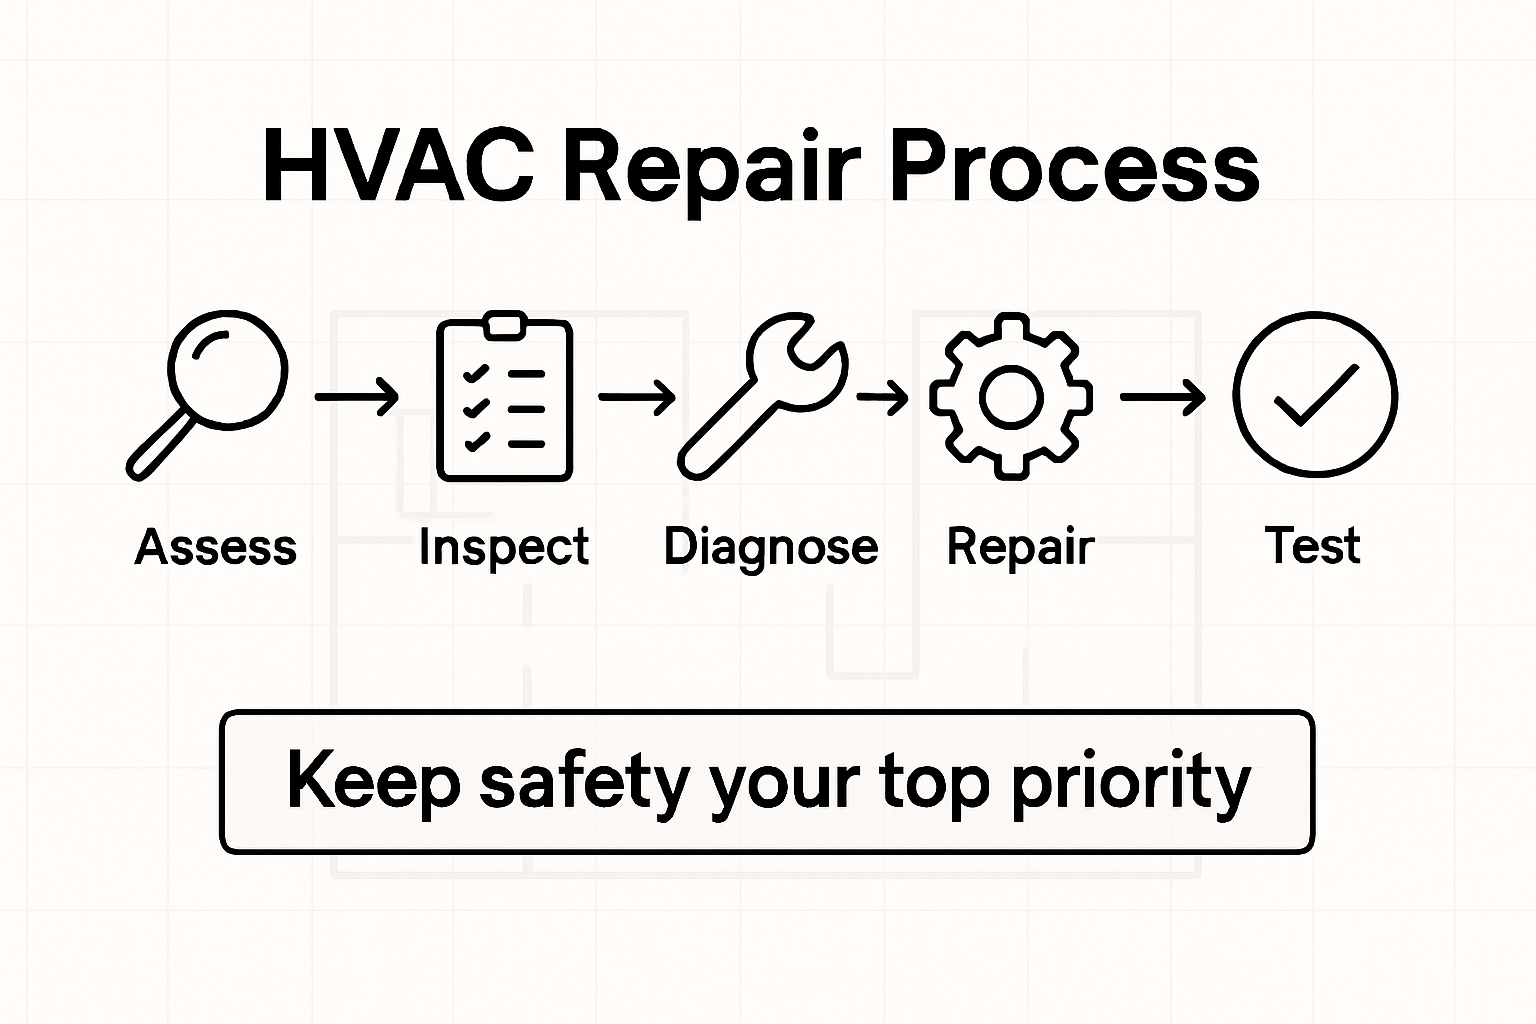
Quick Overview: Step-by-Step HVAC Repair Guide
- Step 1: Assess System Issues And Power Off Safely
- Step 2: Inspect Critical HVAC Components For Damage
- Step 3: Diagnose Common Problems And Identify Solutions
- Step 4: Perform Essential Repairs Using Proper Tools
- Step 5: Test Repairs And Verify System Operation
- Step 6: Restore System Settings And Monitor Performance
Quick Summary
| Important Takeaway | Explanation |
|---|---|
| 1. Inspect HVAC System Visually | Conduct a thorough visual inspection to identify damage or hazards before conducting repairs. |
| 2. Power Off Safely | Turn off the circuit breaker for the HVAC unit to avoid electrical shock while inspecting. |
| 3. Document Issues and Repairs | Take notes and photos of problems for easier communication with professionals if needed. |
| 4. Use Proper Tools for Repairs | Gather the right tools, like multimeters and wrenches, to ensure safe and effective repairs. |
| 5. Test System Post-Repairs | Verify the system’s operation post-repair by checking temperature consistency and airflow. |
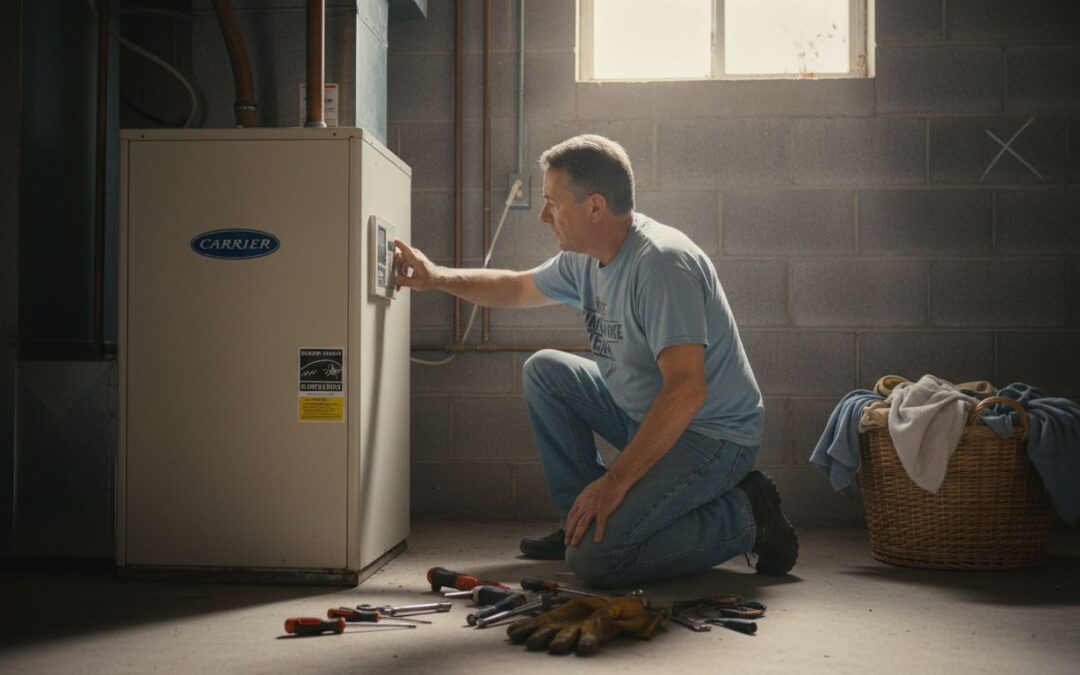
Step 1: Assess System Issues and Power Off Safely
Before diving into any HVAC repair, you need a strategic approach to diagnose potential problems while keeping yourself completely safe. Understanding your system’s current condition will help you determine whether you can tackle the repair yourself or need professional assistance.
Start by performing a comprehensive visual inspection of your HVAC system. Check for obvious signs of damage like water leaks, unusual frost buildup, strange electrical connections, or visible wear on components. Pay special attention to potential electrical hazards according to safety guidelines, which recommend turning off the main circuit breaker before investigating any system issues. This critical step prevents potential electric shock and protects both you and your equipment.
When powering off your system, locate your home’s circuit breaker panel and switch off the dedicated breaker for your HVAC unit. If you’re uncertain which breaker controls your heating and cooling system, turn off the main breaker to ensure complete electrical isolation. During this process, be mindful of indoor air quality considerations, especially if you suspect any potential carbon monoxide risks from your system.
Pro tip: Always keep a flashlight and work gloves nearby when performing system assessments. This preparation will help you navigate potential darkness or handle components safely if needed.
Once you’ve powered down and conducted your initial assessment, you’ll be ready to move forward with the next steps of your HVAC repair process with confidence and safety.
Step 2: Inspect Critical HVAC Components for Damage
With your system safely powered off, it’s time to conduct a thorough inspection of your HVAC system’s key components. This crucial step will help you identify potential issues that could compromise your system’s performance or lead to more significant problems down the line.
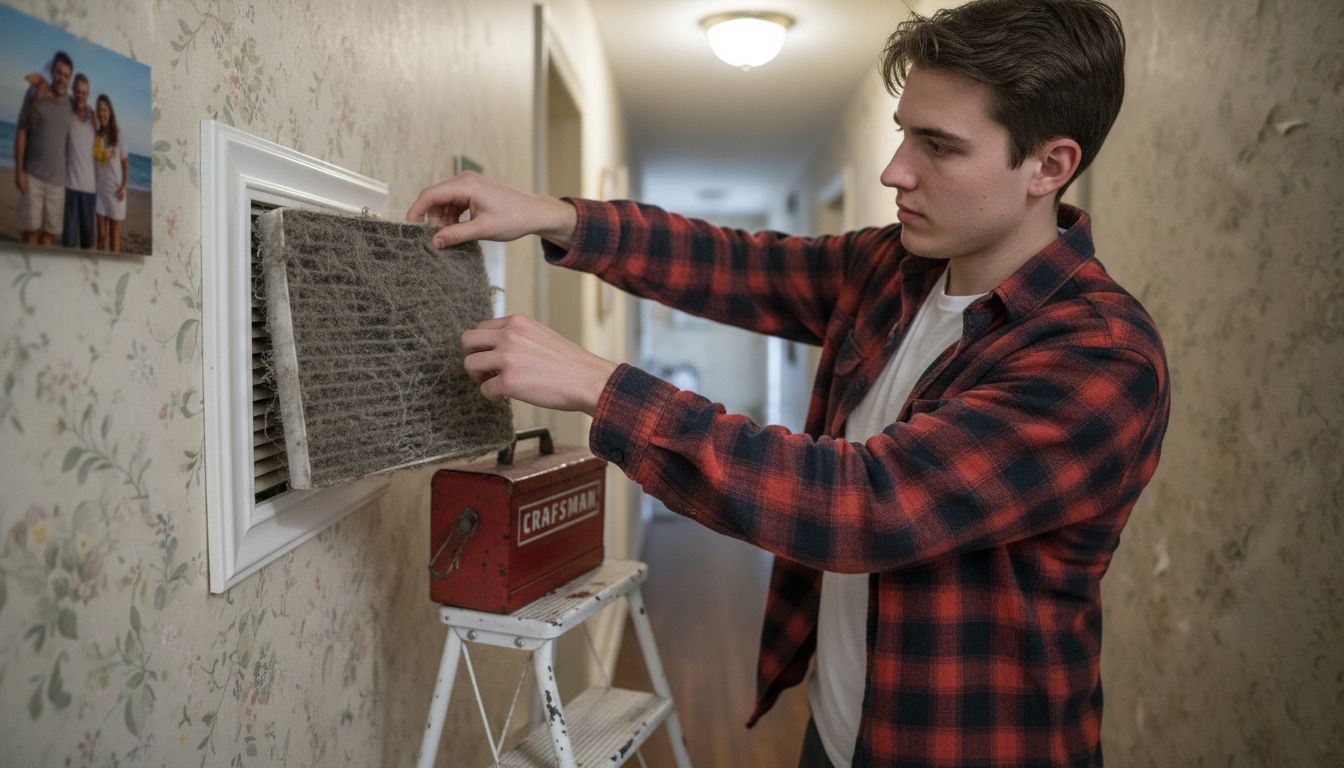
Begin by examining the air filters, which play a critical role in your system’s efficiency. According to the Department of Energy, regular inspection and maintenance of filters, coils, and fins is essential for maintaining optimal performance. Look for signs of excessive dirt, debris, or damage that might restrict airflow. Check the filter’s condition carefully, and if it appears clogged or worn, plan to replace it immediately. Pay close attention to the air intake areas, looking for any blockages or signs of wear that could impact your system’s functionality.
Next, move on to a comprehensive visual inspection of the system’s electrical components. Following the ENERGY STAR maintenance guidelines, carefully examine electrical connections for any signs of loosening, corrosion, or damage. Check the thermostat settings, ensuring they are functioning correctly and accurately reflecting your desired temperature settings. Look for any visible wear on wiring, unusual discoloration, or signs of potential electrical stress.
Pro tip: Always use a flashlight and wear protective gloves during your inspection. Take clear photos of any suspicious areas or potential damage to review later or show a professional technician if needed.
By meticulously examining these critical components, you’re taking a proactive approach to maintaining your HVAC system’s health and preventing potential costly repairs down the road.
Step 3: Diagnose Common Problems and Identify Solutions
Now that you have powered off your system and conducted a thorough visual inspection, it is time to diagnose potential issues that might be impacting your HVAC system’s performance. Understanding the specific problems will help you determine whether you can handle the repair or need professional assistance.
Common air conditioning problems can range from minor issues to more complex system failures. Start by listening carefully for unusual sounds like grinding, squealing, or banging, which could indicate mechanical problems. Check for inconsistent temperatures across different rooms, weak airflow, or unexpected increases in your energy bills. These symptoms often point to underlying system challenges such as refrigerant leaks, electrical control failures, or insufficient maintenance.
As you investigate potential problems, professional assessment becomes crucial for complex issues like refrigerant leaks and electrical failures. While some homeowners can handle basic troubleshooting, certain problems require specialized knowledge and equipment. Pay close attention to signs of refrigerant leaks like ice formation on refrigerant lines, reduced cooling efficiency, or hissing sounds near the indoor or outdoor units.
Pro tip: Document everything. Take clear photos of any damaged components, note specific symptoms, and record when you first noticed the issues. This documentation can be incredibly helpful if you need to consult a professional technician.
By systematically diagnosing these potential problems, you are taking a proactive approach to maintaining your HVAC system’s health and preventing more expensive repairs in the future.
Step 4: Perform Essential Repairs Using Proper Tools
Before diving into any HVAC repairs, understanding the right tools and techniques is critical to ensuring a safe and successful maintenance process. This step requires careful preparation and a realistic assessment of your technical skills and the complexity of the repair needed.
Essential HVAC repair tools include specialized equipment like multimeters, manifold gauges, and leak detectors. Begin by gathering your basic toolkit which should include screwdrivers, adjustable wrenches, wire cutters, and electrical tape. For electrical troubleshooting, a reliable multimeter becomes your best friend in diagnosing potential circuit or control issues. When working with refrigeration components, ensure you have protective gloves and safety glasses to prevent potential chemical exposure or electrical accidents.
While some minor repairs can be attempted by homeowners, many HVAC issues require specialized professional expertise. If you encounter complex problems involving refrigerant lines, electrical control systems, or extensive component replacement, it is strongly recommended to contact a professional technician. Your safety and the integrity of your HVAC system should always take precedence over attempting repairs beyond your skill level.
Pro tip: Always verify the compatibility of replacement parts with your specific HVAC model before purchasing. Take clear photos of the original components to ensure accurate matching during replacement.
By approaching repairs methodically and knowing your limits, you can effectively maintain your HVAC system while avoiding potentially costly mistakes.
Step 5: Test Repairs and Verify System Operation
After completing your HVAC repairs, the final and most critical step is thoroughly testing your system to ensure everything functions correctly. This verification process will help you confirm that your repairs have successfully resolved the original issues and restored your system to optimal performance.
The Department of Energy recommends a comprehensive performance check after maintenance, which involves carefully monitoring the system through multiple operational cycles. Begin by turning the power back on and setting your thermostat to a test mode. Observe the system as it starts up, listening for any unusual sounds and watching for smooth startup sequences. Check that the airflow feels consistent and strong from all vents, and verify that the temperature changes match your thermostat settings within a reasonable timeframe.
According to ENERGY STAR guidelines, verifying system efficiency involves checking thermostat responsiveness and temperature maintenance. Pay attention to how quickly your system reaches the desired temperature and whether it maintains that temperature consistently across different rooms. Run the system through both cooling and heating cycles if possible, noting any variations in performance or unexpected behavior that might indicate incomplete repairs.
Pro tip: Keep a log of the system’s performance during this test phase. Note the time it takes to cool or heat, any temperature inconsistencies, and any unusual sounds or behaviors. This documentation can be invaluable if you need to consult a professional technician later.
By methodically testing your repairs, you can ensure your HVAC system operates safely and efficiently, potentially saving yourself from more costly repairs in the future.
Step 6: Restore System Settings and Monitor Performance
With your HVAC repairs completed, the final crucial phase involves carefully resetting your system and establishing a long-term monitoring strategy. This step ensures that your repairs translate into sustained system performance and energy efficiency.
ENERGY STAR recommends thoroughly checking and adjusting thermostat settings after maintenance to optimize comfort and energy consumption. Return your thermostat to its standard programmed settings, ensuring the temperature schedules align with your household routine. Verify that all previously configured schedules remain intact and that the system responds accurately to these programmed changes. Pay special attention to setting appropriate temperature ranges that balance comfort with energy conservation.
The Department of Energy emphasizes the importance of ongoing performance monitoring to detect potential issues early. Plan to observe your system over the next few weeks, tracking key performance indicators such as temperature consistency, energy consumption, and overall system responsiveness. Listen for any recurring unusual sounds, monitor airflow from different vents, and note any unexpected temperature fluctuations that might indicate lingering problems.
Pro tip: Consider creating a simple spreadsheet to log your system’s performance, including date, temperature settings, energy usage, and any observations. This documentation can help you identify patterns and catch potential issues before they escalate.
By methodically restoring your system settings and maintaining vigilant monitoring, you can ensure your HVAC system continues to operate efficiently and effectively.
Take Control of Your HVAC Repairs with Trusted Local Experts
Handling HVAC repairs step-by-step can be overwhelming, especially when facing complex issues like identifying electrical faults or diagnosing refrigerant leaks safely. If you want to avoid the risks of improper repairs and ensure your system runs efficiently, partnering with professionals who understand the challenges of maintenance and repair is crucial. Our team at MD Heating & Air is here to guide you through every stage — from inspection to reliable repair and ongoing maintenance.
Explore our Heating Services & Maintenance Tips to deepen your knowledge, then take the next step by visiting MD Heating & Air. Contact us today for a free estimate or to schedule a service call. Don’t wait until minor HVAC problems turn into costly emergencies. Act now and experience peace of mind with expert solutions tailored for Greenville, SC homes.
Frequently Asked Questions
What are the first steps to safely handle HVAC repairs at home?
To safely handle HVAC repairs, start by assessing your system’s issues and power it off completely. Locate the circuit breaker panel and turn off the dedicated breaker for your HVAC unit to prevent any electrical hazards.
How do I inspect critical components of my HVAC system for damage?
Conduct a thorough inspection by examining air filters, electrical connections, and other key components. Regularly check for dirt build-up or signs of wear to maintain optimal system performance, ideally at least every 1-3 months.
What common problems should I look out for during HVAC diagnostics?
Look for unusual sounds, inconsistent temperatures across rooms, and increased energy bills, as these may indicate underlying issues. Document any strange noises or symptoms to aid in troubleshooting or when consulting with a professional.
What essential tools do I need to perform HVAC repairs?
Gather essential tools such as screwdrivers, adjustable wrenches, multimeters, and leak detectors to successfully handle repairs. Ensure you have these tools on hand before starting any repair to streamline the process.
How can I verify that my HVAC repairs were successful?
After completing your repairs, test the system by turning it back on and monitoring its performance during multiple operational cycles. Check for consistent airflow and proper temperature regulation to confirm your repairs were effective.
What steps should I take to monitor my HVAC system’s performance after repairs?
Carefully restore your thermostat settings and observe the system over the next few weeks for any inconsistencies in performance. Create a simple log to track temperature changes and energy usage to help detect potential issues early.