
Over 50 percent of American homes and businesses experience uneven heating or cooling at some point each year. Addressing this challenge starts with understanding the unique needs of your space before committing to a ductless mini split system. The right approach not only improves comfort but can also deliver significant savings on monthly energy bills while allowing you to tailor climate control for your specific environment.
Step-by-Step Guide to Ductless Mini Split Installation & Optimization
- Step 1: Assess Home or Business Needs
- Step 2: Choose the Right Ductless Mini Split System
- Step 3: Prepare the Installation Area
- Step 4: Install and Connect the Mini Split Components
- Step 5: Test and Optimize System Performance
Quick Summary
| Key Insight | Explanation |
|---|---|
| 1. Assess Your Space First | Measure square footage and evaluate sun exposure and insulation to determine specific heating and cooling needs. |
| 2. Select the Right System Type | Choose between single zone or multi zone systems based on the size and use of the area to ensure optimal performance. |
| 3. Prepare Installation Area | Ensure proper wall strength, electrical capacity, and airflow clearance to facilitate a successful installation. |
| 4. Follow Detailed Installation Procedures | Properly mount units and connect refrigerant lines to ensure long-term efficiency and reliability of the system. |
| 5. Test and Optimize Performance | Run the system through different cycles and document performance to identify any efficiency issues early on. |
Step 1: Assess Home or Business Needs
Assessing your space for a ductless mini split installation involves carefully evaluating your specific heating and cooling requirements. By understanding your unique environment, you’ll make an informed decision that maximizes comfort and energy efficiency.
Start by measuring the square footage of the area you want to condition. Not all spaces are created equal, and ductless systems require precise sizing for optimal performance. Walk through each room, noting sun exposure, ceiling height, insulation quality, and existing window configurations. These factors significantly impact the system’s effectiveness.
Consider your building’s current heating and cooling infrastructure. Are you supplementing an existing system or creating a standalone solution? Older homes or businesses with limited ductwork often benefit most from ductless technology. Review your energy bills to understand current consumption patterns. This data helps determine potential efficiency gains and projected cost savings from a mini split installation.
Pro tip: Take precise room measurements before consulting an HVAC professional, as accurate dimensions help technicians recommend the most suitable system configuration for your specific space.
Step 2: Choose the Right Ductless Mini Split System
Selecting the perfect ductless mini split system requires careful consideration of your specific heating and cooling needs. Your goal is to find a solution that delivers optimal comfort, energy efficiency, and long term performance.
Efficient system selection depends on understanding key performance characteristics that match your unique space requirements. Start by evaluating the total square footage you want to condition. Single zone systems work best for smaller areas like individual rooms or home additions, while multi zone configurations allow you to manage temperatures across multiple spaces simultaneously. Consider the climate in your region the system must handle extreme temperatures or moderate seasonal shifts will impact your ideal unit selection.
Pay close attention to the system’s British Thermal Unit (BTU) rating and energy efficiency scores. Higher efficiency ratings typically mean lower operating costs and reduced environmental impact. Look for units with ENERGY STAR certification, which indicates superior performance standards. Assess additional features like inverter technology, which allows for more precise temperature control and reduced energy consumption. Consider noise levels especially for bedrooms or quiet work environments where minimal operational sound is crucial.
Pro tip: Request detailed load calculations from a professional HVAC technician who can perform a comprehensive assessment of your specific space and recommend the most precisely sized mini split system for your exact needs.
Here’s a quick reference comparing single zone and multi zone ductless mini split systems:
| System Type | Suitable Application | Key Advantage | Typical Use Case |
|---|---|---|---|
| Single Zone | One room or small area | Simplest installation | Bedroom, office, addition |
| Multi Zone | Multiple separate areas | Independent control zones | Whole home, business |
Step 3: Prepare the Installation Area
Successfully preparing your space for a ductless mini split system is crucial to ensuring optimal performance and long lasting functionality. Your goal is to create an ideal environment that supports seamless installation and maximum system efficiency.

Proper site preparation involves carefully evaluating structural and spatial requirements for your new mini split system. Begin by identifying a wall location that provides unobstructed airflow and direct access to an exterior wall for the outdoor unit. Measure the intended mounting area, ensuring at least 6 inches of clearance around the unit for proper ventilation. Check the wall structure for adequate strength to support the indoor unit weight. Concrete, brick, and wood frame walls typically work well, but older or weakened walls might require additional reinforcement.
Evaluate the electrical infrastructure to confirm compatibility with your new mini split system. Verify that your electrical panel can handle the additional load and that you have a dedicated circuit near the installation site. Remove any artwork, shelving, or decorative elements that might interfere with unit placement. Consider potential sunlight exposure and room temperature variations that could impact the system performance. Ensure the pathway between indoor and outdoor units remains clear for refrigerant lines and electrical connections.
Pro tip: Take detailed photographs of your installation area before beginning work to help HVAC professionals understand your specific space constraints and potential mounting challenges.
For streamlined preparation, consider these structural and electrical requirements:
| Requirement | Reason It Matters | Common Solution |
|---|---|---|
| Wall Strength | Supports indoor unit weight | Reinforce or use anchors |
| Electrical Capacity | Handles new system load | Upgrade breaker panel |
| Airflow Clearance | Ensures efficient performance | Leave at least 6-inch gap |
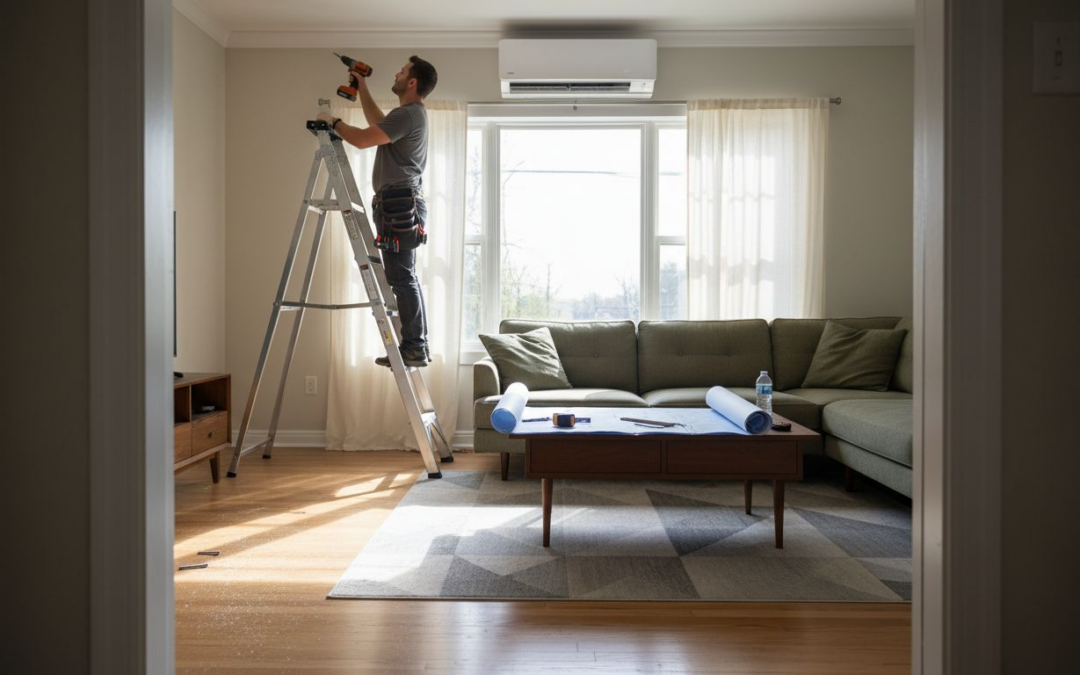
Step 4: Install and Connect the Mini Split Components
Installing a ductless mini split system requires precision and careful attention to detail. Your goal is to create a seamless connection between indoor and outdoor units that ensures optimal performance and long term reliability.
Comprehensive installation procedures involve multiple critical steps for system integration that demand technical expertise. Start by mounting the indoor air handler securely on the wall, ensuring it is level and positioned at the recommended height typically 6 to 7 feet above the floor. Drill a 3 inch diameter hole through the wall for refrigerant lines and electrical connections. Carefully run the copper refrigerant lines, electrical cable, and condensate drain line through this opening, making certain each component remains protected and properly sealed.
Connect the refrigerant lines between indoor and outdoor units, paying close attention to proper torque specifications for flare nut connections. Use specialized tools to create tight seals and prevent potential refrigerant leaks. Install the outdoor condenser unit on a stable mounting surface like a concrete pad or sturdy wall bracket, maintaining recommended clearances for optimal airflow. Verify all electrical connections follow manufacturer specifications and local building codes. Perform a thorough vacuum and pressure test to confirm the system is free of leaks and ready for refrigerant charging.
Pro tip: Always wear safety glasses and use insulated tools when working with electrical connections to prevent potential accidents during the mini split installation process.
Step 5: Test and Optimize System Performance
Testing and optimizing your newly installed ductless mini split system ensures maximum efficiency, comfort, and long term reliability. Your goal is to verify proper functionality and fine tune performance across different operating conditions.
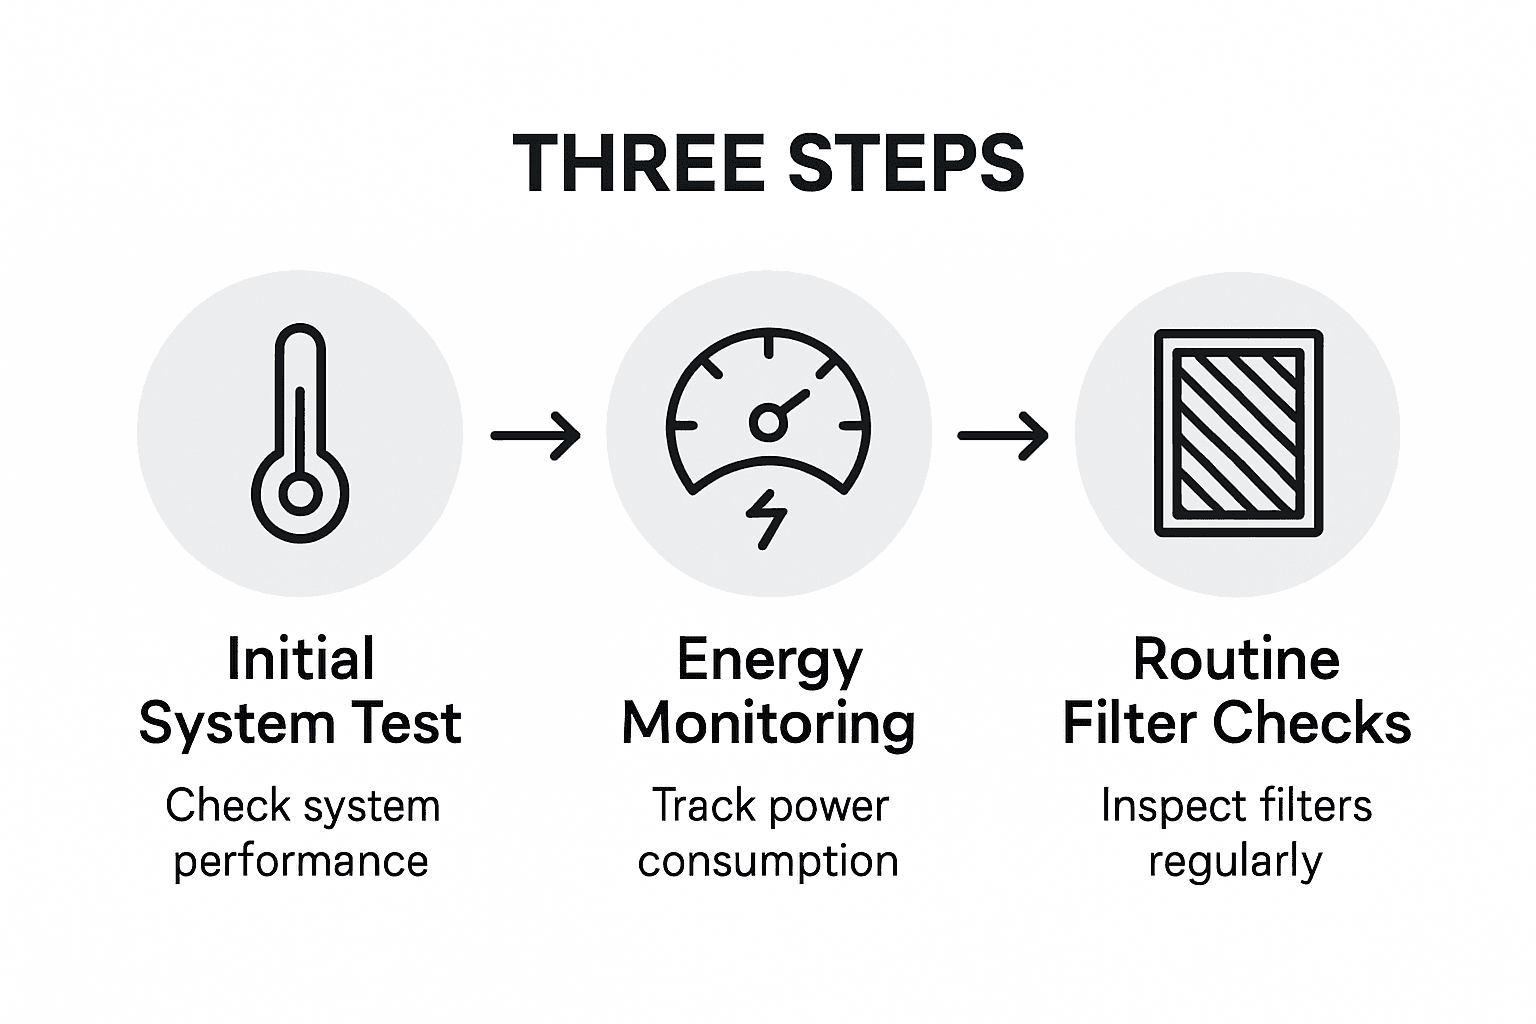
Comprehensive system performance evaluation requires systematic testing protocols that assess multiple aspects of operational capability. Begin by running the system through complete heating and cooling cycles, checking temperature consistency and airflow at various settings. Monitor the indoor unit for smooth operation, listening for unusual sounds and observing air distribution patterns. Test each mode including cooling, heating, dehumidification, and fan settings to confirm full operational range.
Carefully examine electrical consumption using a dedicated energy meter to understand actual power draw and efficiency levels. Verify that temperature sensors respond accurately by comparing thermostat readings with actual room temperatures. Check refrigerant line connections for potential leaks and ensure condensate drainage functions smoothly. Adjust fan speeds and directional louvers to optimize air circulation and minimize potential cold or hot spots. If your system includes smart controls, sync and test mobile app functionality to confirm remote monitoring and adjustment capabilities.
Pro tip: Document your initial system performance measurements and create a baseline record that will help you track future energy efficiency and detect any potential performance degradation over time.
Unlock Superior Comfort with Expert Ductless Mini Split Installation
If you are facing challenges with inefficient heating or cooling and want to optimize your indoor comfort through precise ductless mini split sizing and installation, MD Heating & Air Conditioning has you covered. Understanding the importance of proper system selection, installation, and performance testing from our Heating Services & Maintenance Tips can save you costly energy bills and deliver lasting comfort to your home or business.
Don’t wait until discomfort takes over your space. Reach out today at MD Heating & Air Conditioning to schedule your free estimate and discover how our local Greenville team can expertly assess your needs and install a custom ductless mini split solution. Experience the reliability and efficiency that hundreds of satisfied customers trust by visiting our Uncategorized Archives to learn more about our HVAC expertise.
Frequently Asked Questions
How do I assess my space for ductless mini split installation?
To assess your space for ductless mini split installation, measure the square footage of the areas you want to condition and note factors like sun exposure, ceiling height, and insulation quality. Gather this information before consulting an HVAC professional to ensure you receive accurate recommendations tailored to your specific needs.
What type of ductless mini split system should I choose?
Choosing the right ductless mini split system depends on your space requirements. For smaller areas, a single zone system is ideal, while multi zone systems work well for larger spaces with separate temperature needs. Aim for a system with a high energy efficiency rating to reduce operating costs over time.
What steps should I take to prepare the installation area for a mini split?
Prepare your installation area by ensuring you have an unobstructed wall location for the indoor unit with adequate structural support. Check electrical capacity to support the system and clear the area of any potential obstructions to ensure a smooth installation process.
How is the connection between indoor and outdoor units installed in a mini split system?
During installation, mount the indoor air handler securely at the correct height and drill a hole for refrigerant and electrical lines. Connect the refrigerant lines correctly and ensure all electrical connections meet safety requirements to create a reliable operation between the indoor and outdoor units.
How can I test and optimize the performance of my ductless mini split system?
To test your ductless mini split system, run it through heating and cooling cycles, checking temperature consistency and airflow. Monitor energy consumption using an energy meter and adjust settings to minimize hot or cold spots, ensuring that the system operates at maximum efficiency.
What should I document after installing my ductless mini split system?
Document initial system performance measurements, including temperature readings and energy usage, to establish a baseline for future comparisons. This information will help you track energy efficiency over time and identify any performance issues that may arise.
Recommended
- Choose Ductless AC for Efficient Comfort in Greenville, SC » MD Heating & Air Conditioning
- Discover the Best AC Installation: Ductless or Traditional? » MD Heating & Air Conditioning
- MD Heating & Air: Ductless Mini-Split AC Systems
- HVAC Systems Comparison: Finding the Best Fit for You
- Top Workshop Organization Tips for Diesel Injection Technicians 2025 – My WordPress